A month or two ago I went to an interesting leather working class put on by the PLA. I think the coolest thing I learned was you don't need a ton of expensive equipment to get started and that it was not all that expensive to make the cool looking stuff. So when Master ordered me to get out and do something, ordering me to look at leather stuff, I went to Tandy Leather and walked into the most delicious leather scented place. The staff were just the right mix of leave me alone to wander and touch and sniff and think... but as soon as I asked something they were knowledgeable, quick and wonderfully nice. I bought a piece of split leather, "rough on both sides"... well not rough, soft and suede really, black... about 2.5'x4'... for less than $30... that is enough to make a dozen cuffs and prolly other stuff too.

I had looked at a lot of different styles of cuffs on the internet and chose to make some that have a wide strap with two smaller straps that weave back and forth to anchor the d-rings and put the buckles on. I sat down and made a pattern out of paper to get an idea of exactly how wide I wanted the cuffs to be and how wide the straps should be.
Mine are 2.5" wide and about 8.5" long. This does leave me with about an inch overlap to pad where the buckles are. You should make your own pattern and custom size your own cuffs. (Master says I am big boned... and here all the time I thought I was a dainty little girl.)

I use a one sided razorblade and a metal ruler on a cutting board. It cuts just like butter. I did mess up the first couple but that gave me scraps to practice on. (Be careful, leather is sort of stretchy. Take your time, move your hand on the ruler to keep even pressure next to the razor blade... oh and make sure the sharp side of the razor blade is down. It makes you feel really stupid to try it the other way. Take my word for it.) Anyway... you will get your rectangle and two straps (make the straps about 3" longer than the strap is long.

Because my base rectangle is 2.5" wide it is really easy to score it on the back side and divide it into five equal .5" sections and then I found the middle... 4.25 and that is where the d-ring would go. I want to make slots for the straps to weave back forth so I figured out that I want to slots (one on either side of the d-ring about .5"... so the middle two slots end up a total of 1" apart. Then the straps need to weave back up to the top again and I decided to make that 1.5" further down... again on either side.

Cutting the slots for the straps is a bit nit-picky. You can buy a punch that does it perfectly every time... just put it on the leather and hit it with a mallet... but I was reluctant to invest a lot of money in tools I am still not sure that I will end up using a lot... so the cheapo way is to take your hole punch... (the one indispensable piece of equipment I did end up purchasing... not too expensive... less than $20... I rationalized it because of all the weight I have lost I need to alter a few belts.) ...anyway, take the hole punch, choose the size of hole to match the thickness of your leather and punch a hole at either end of you .5" wide mark and then carefully take your razor blade and cut the narrow piece out between the punched holes.

If you are at all like me, the resulting slots will not be perfectly regular but once the straps are through it looks just fine.

Next putting the buckles on the straps. I found it easier to do this before I tried to thread then through. (Tandy has a bewildering assortment of buckles and cool stuff, you can spend all day deciding exactly which ones you like best.) Look close at your buckle... I am sure advanced leather workers even know what all the parts are named... but I just call the little middle thing that goes through the belt hole the "tongue" probably wrong but what do I know... all I know is I am having fun. Be sure to get the front in on the front end... I sluffer from a sight clase of dysexia... and get things turned around very easily... so I actually went and got a belt and looked at it and then played around with the buckles a bit to make sure I wasn't getting it back-assward.
The tongue needs to be able to move freely so the hole you make for it to fit through is not really a hole... it is a slot about half and inch long. I put it in about an inch from the end of the strap (I gave myself an inch and a half originally so I would have extra if I needed but I ended up trimming .5 inches off.) Cut a slot, using the same technique I described earlier... maybe choose a hole size a little wider... look at the buckle you chose... compare it to the hole on the punch. Thread it through... look at it... if it looks right, you are ready to rivet!

You use a rivet to hold the buckle on. I was a bit leery about rivets. I thought they would be hard to do. I took some of my scraps and practiced and found out they are EASY PEASY... come in all kinds of cool sizes and decorations. You will need a tool... basically a little concave base and a little shaft with a concave tip to tap on... I used double cap rivets (with pretty stars on them). The bottom part of the rivet has a shaft and the top of the rivet is the cap... the length of the shaft should be just long enough to stick up out of your leather about 1/8 of an inch... any longer and it will be too long, the whole thing with shift and bend and not line up right. Take your punch... choose the hole that will just fit the shaft of the base and punch a hole through both layers at once... push the base through the hole... the cap sort of snaps on and stays while you position it over the little round base anvil thing. Take the punch and position it over the cap and tap, tap, tap. This is where a nice sturdy work surface is invaluable.

Now that you have buckles on the end of both your straps, thread them through the slots in your bigger rectangle... be sure to remember to put the d-rings on... that is why we are making these suckers, right??? ...so Masterly types can fasten us down??? Though I must say they are very much a fashion statement as well.

Next I put rivets through both the big rectangle and the straps... measuring halfway between where the two 1.5" apart slots. This looks cool and I think will help anchor the strap to the main wider strap.
Last I put them on, thread the straps through the buckles and looked carefully to decide where the holes should be for just the right amount of tightness... I like them tight... so tight it is hard to twist them around on my wrist...

punch the holes and put them back on and rush down and show Master...

Cool, huh?
Next I am going to make ankle cuffs and then a play collar to match.


 You don't have any idea how hard it was hard it was to get a shot of this collar on my neck without getting too much of the turkey neck thing going on. I had to lift my chin and stretch out my arm and look at the image on the computer screen.
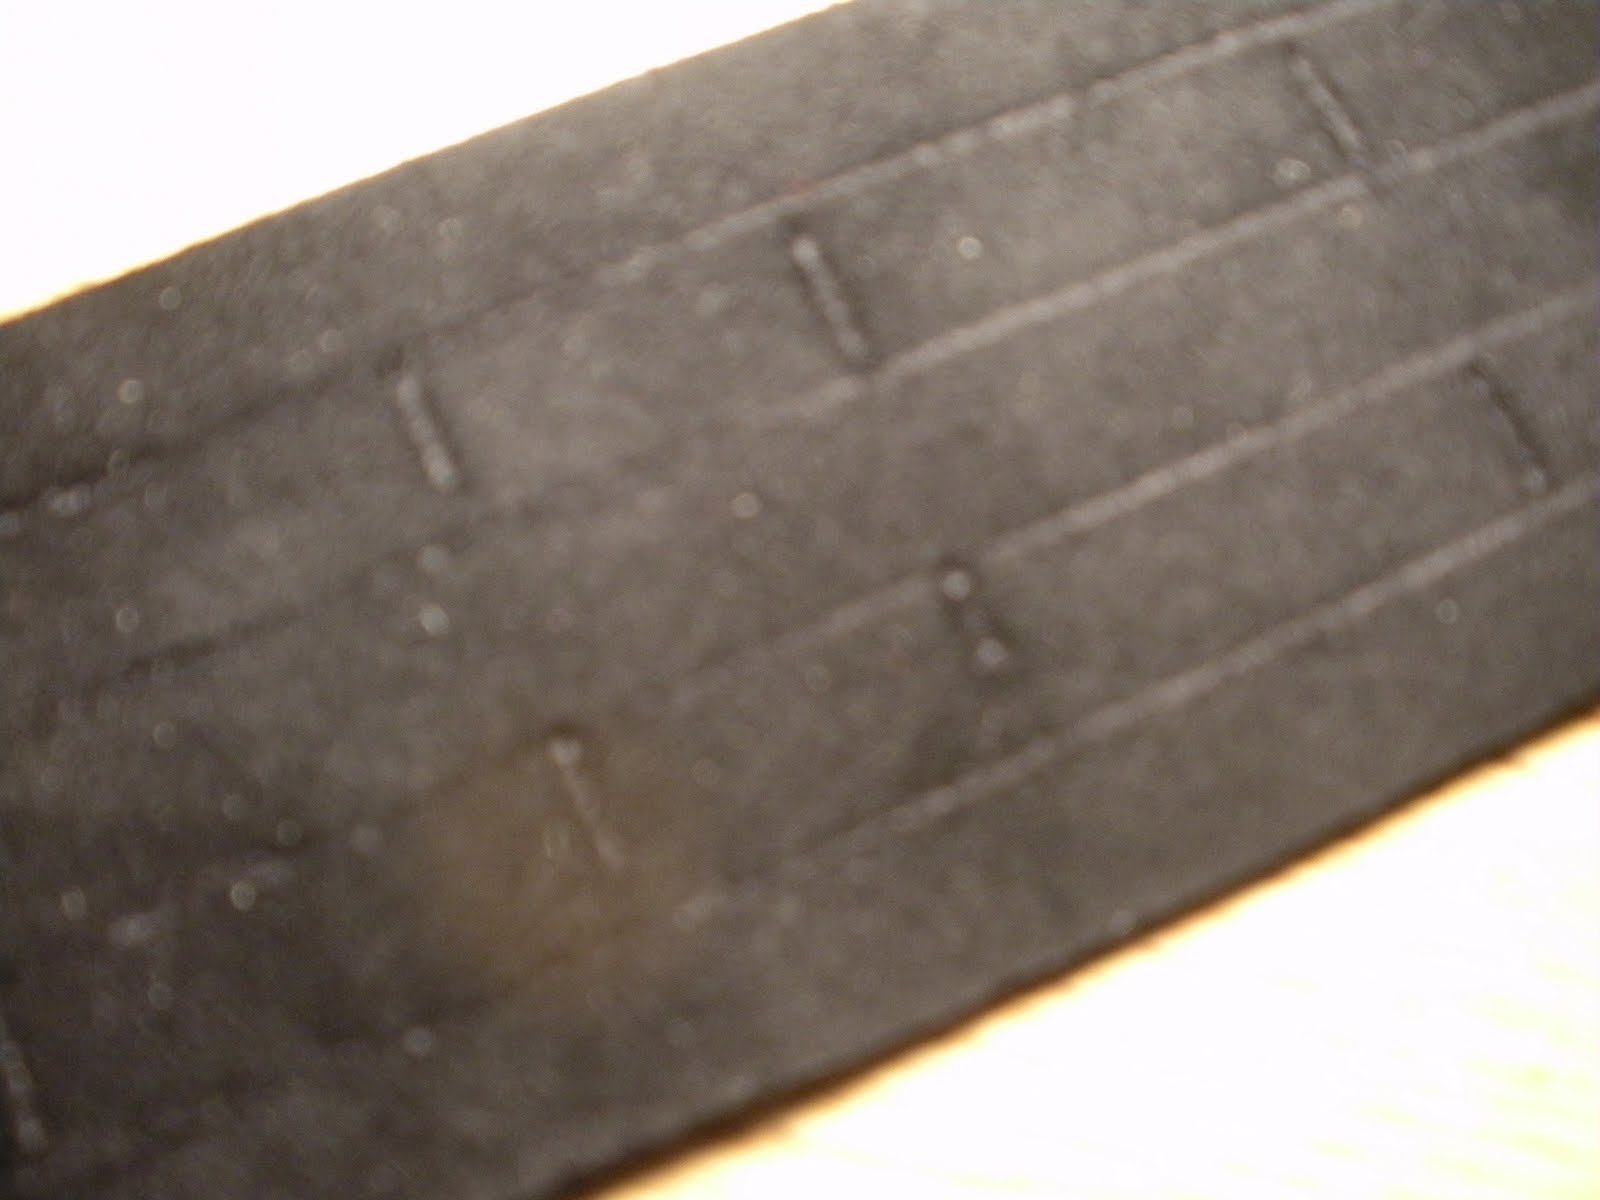
 Sorry about my sorry assed photography skillz. This is a little out of focus. The main band is 1" wide with a series of 1/2" slots and a half inch band threaded back and forth, three d-rings and lots of shiny rivets.
  Wrist cuff and collar. I made ankle cuffs too just like the wrist cuffs but just a hair bit wider than the wrist cuffs. Lots'ofun. Now to get him to use them to fasten me down.